


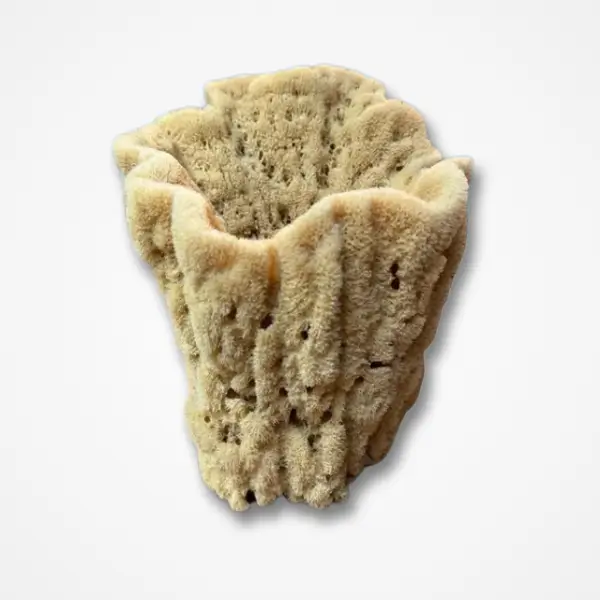
Decor Sponges
Price range: $4.00 through $8.00
Select options
This product has multiple variants. The options may be chosen on the product page
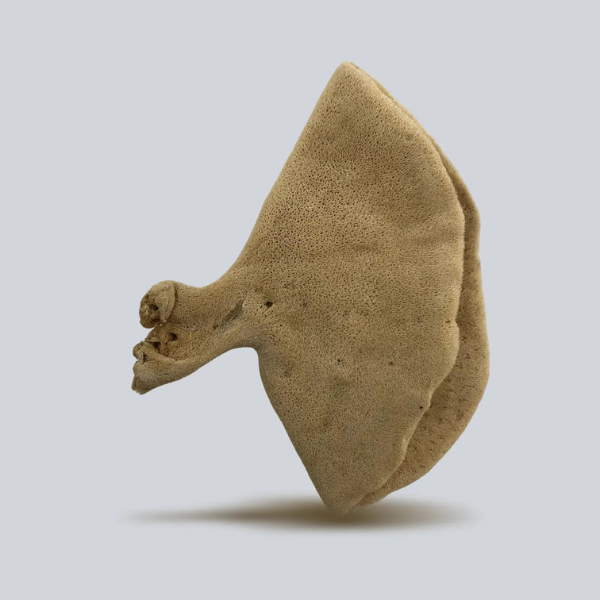
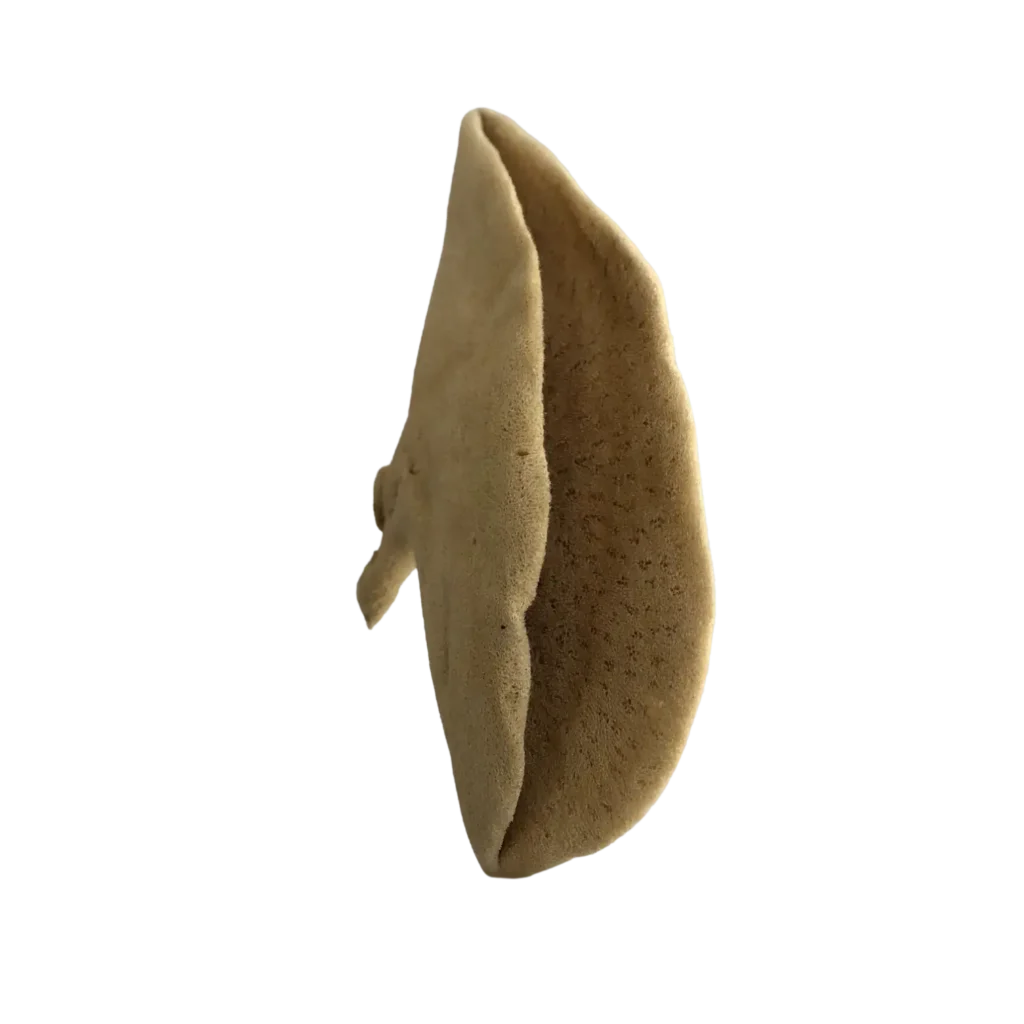
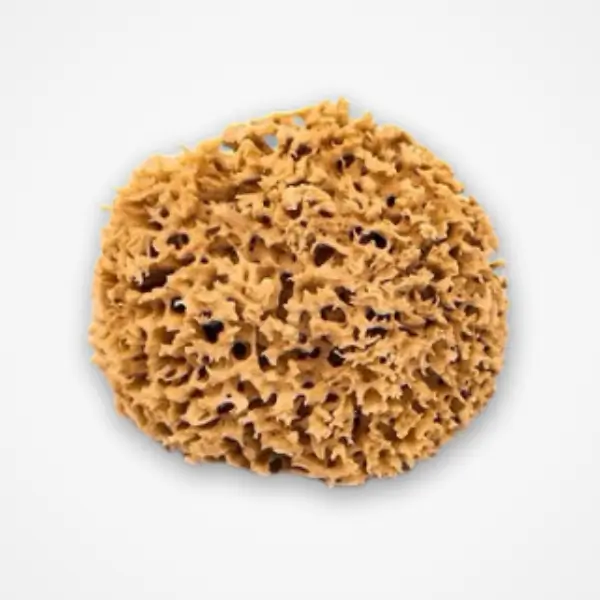
Elephant Ear Sponges
Price range: $6.00 through $9.00
Select options
This product has multiple variants. The options may be chosen on the product page
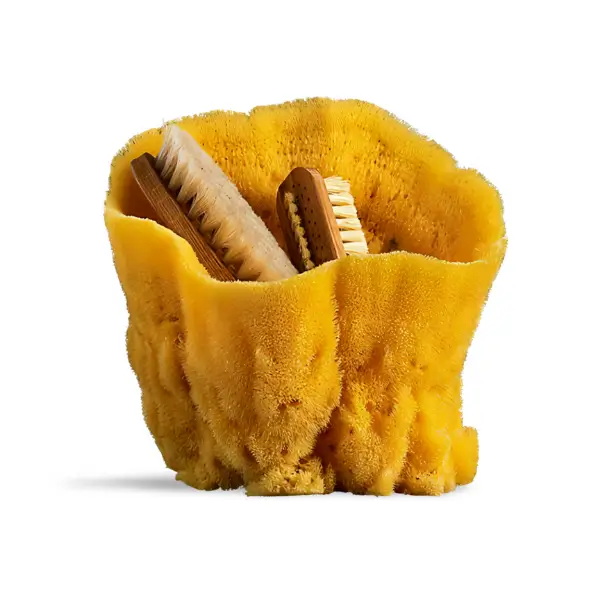
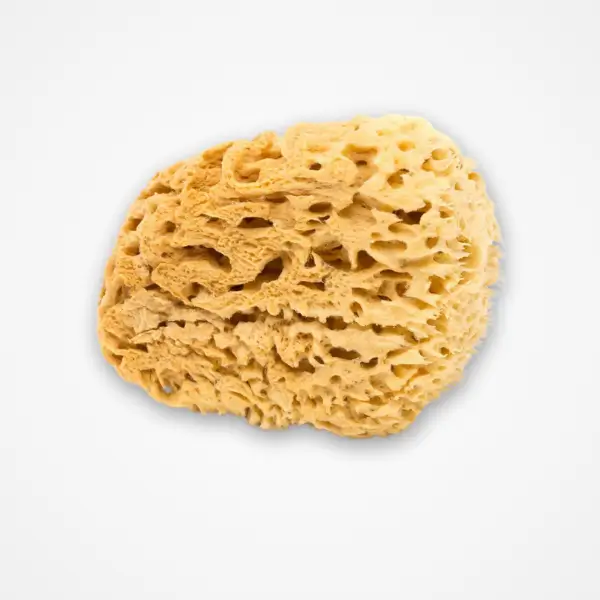
Grass Natural Sea Sponge
Price range: $3.00 through $9.00
Select options
This product has multiple variants. The options may be chosen on the product page
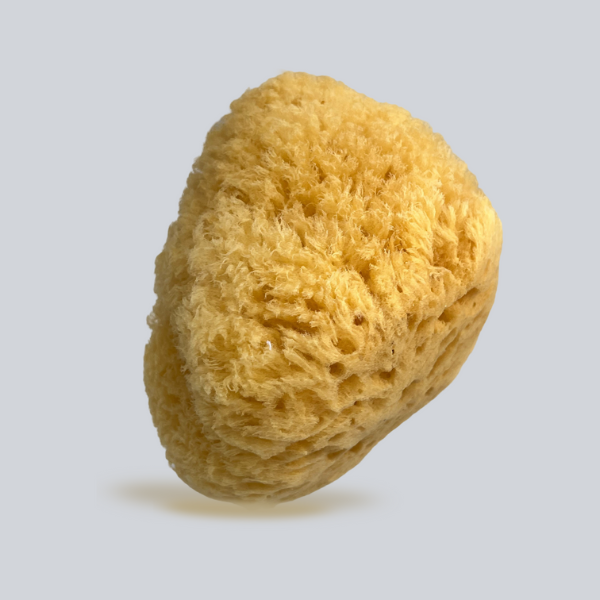
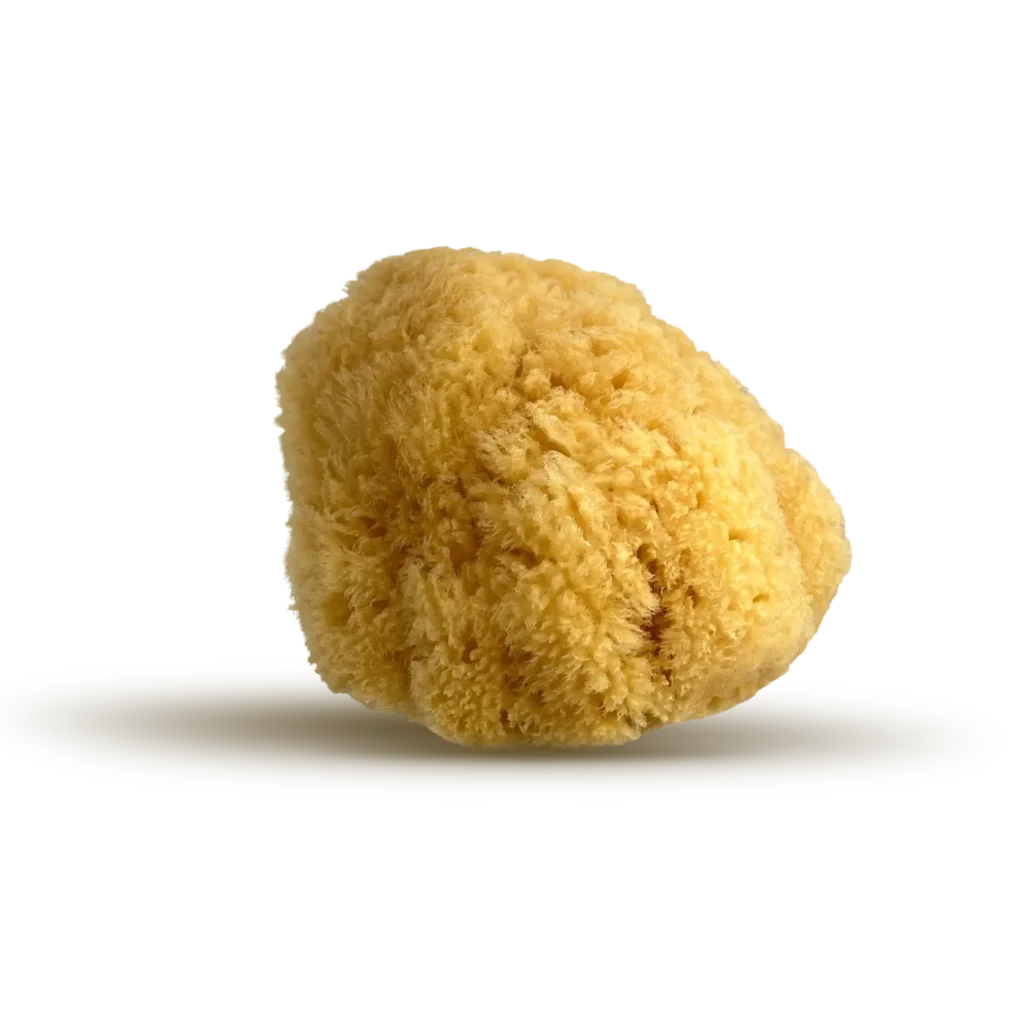
Natural Wool Sea Sponges
Price range: $6.00 through $18.00
Select options
This product has multiple variants. The options may be chosen on the product page


2")
2")


")
")
")